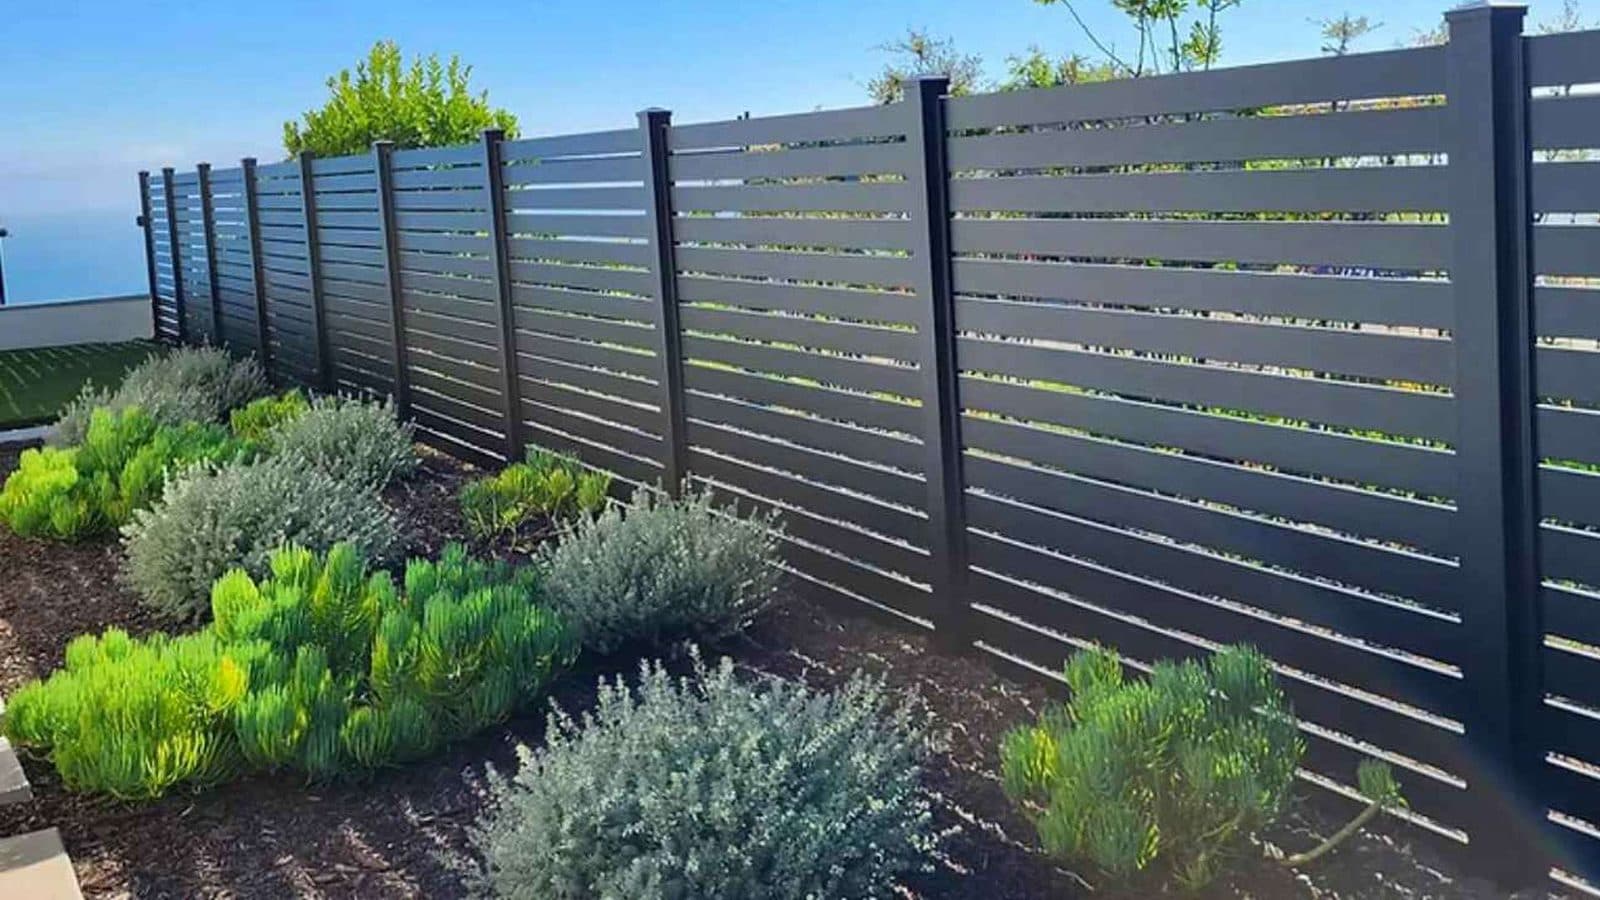
If you’re handy with a level and a drill, aluminium slat fencing DIY is well within reach. Our fences are mechanical and bolt-together (everything fixes with brackets and screws, with no welding involved) so a confident homeowner can put up a tidy run over a weekend and save on labour.
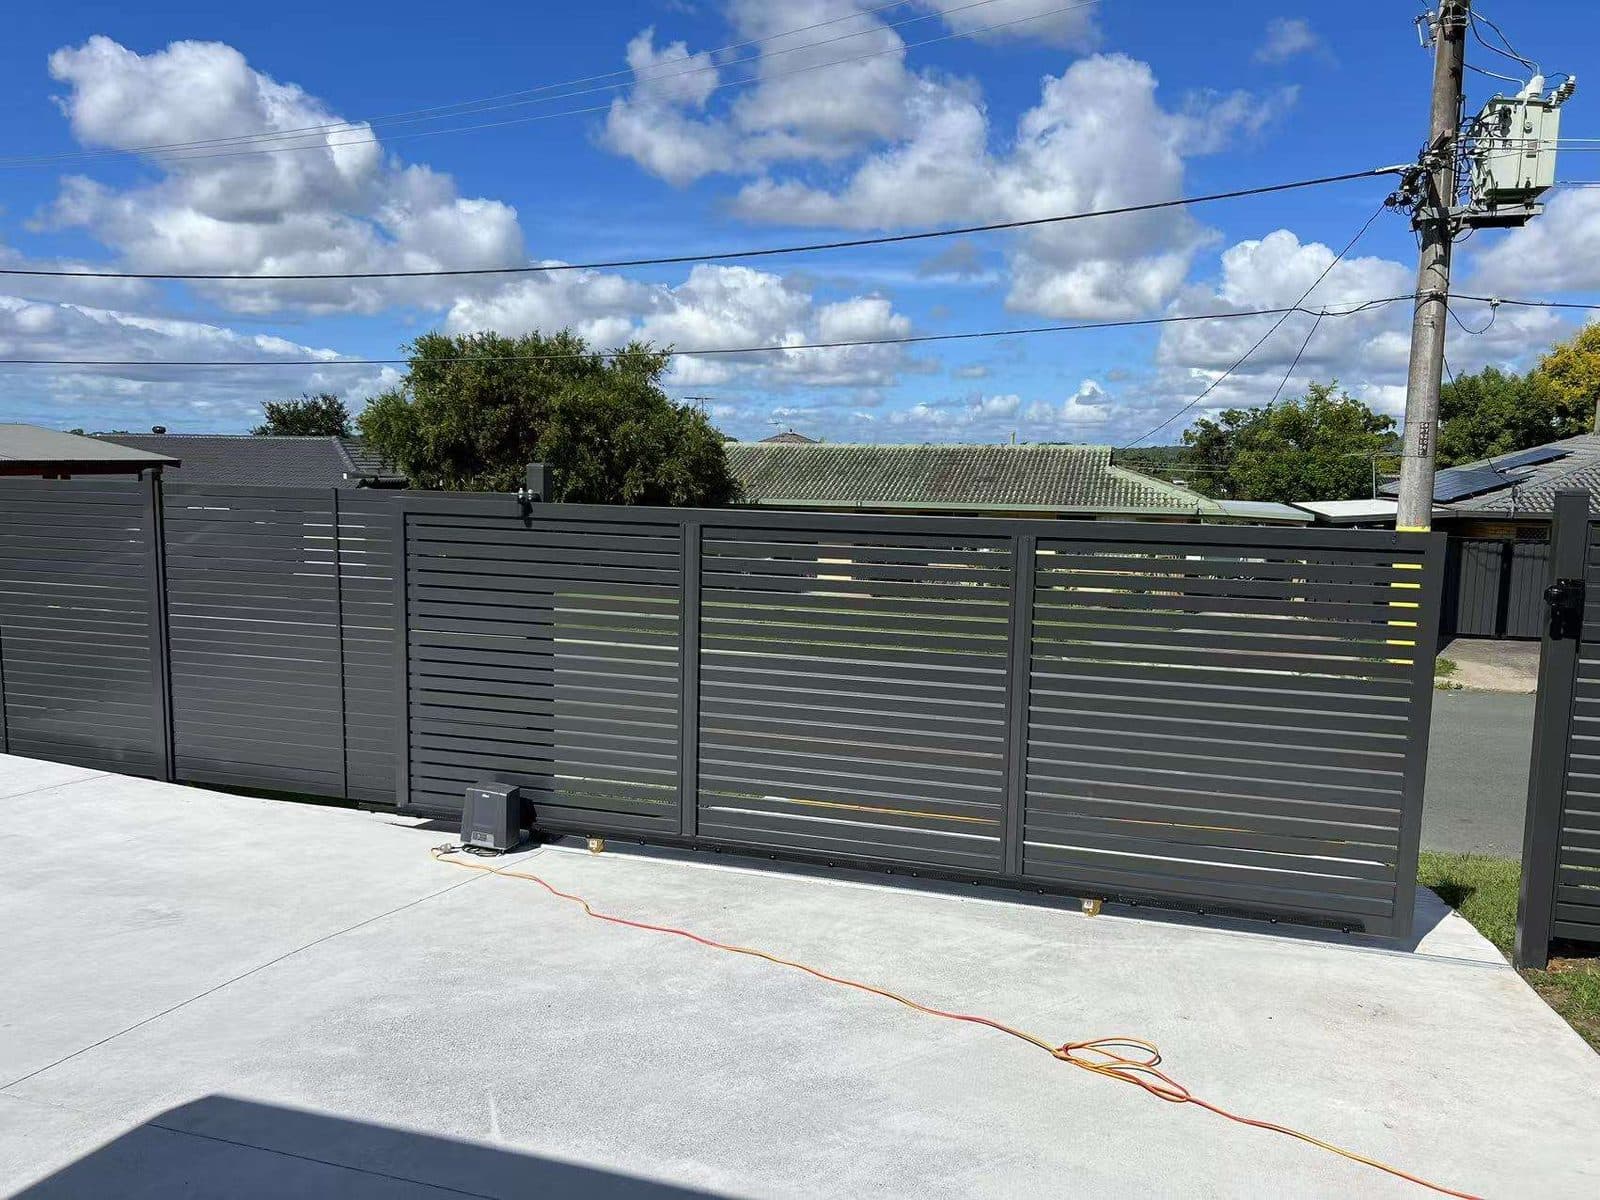
Why aluminium slat fencing DIY is so doable
A lot of fencing puts people off because it sounds like a job for tradies with welders and heavy machinery. Aluminium is different. The posts, rails and slats are powder-coated and pre-cut, and they join with simple brackets and self-tapping screws. There is no hot work, no grinding sparks, and no specialist trade ticket required: just careful measuring and a methodical approach. Queensland does put limits on how much unlicensed building work you can take on, though, so it pays to check when a DIY fence needs a licensed builder before you commit to a long run.
Aluminium is also light. A single person can carry a slat panel that would be awkward and heavy in steel, which makes setting out and adjusting far easier when you’re working solo or with one helper. The finish comes baked on at the factory, so you’re not painting anything on site, and it won’t rust the way some materials do in our humid South East Queensland summers.
You can buy your materials supply-only and pick them up from our Slacks Creek (Logan) yard, or have them delivered. If you’d rather not pick up a tool at all, we can install for you across Brisbane, Logan, Ipswich, the Gold Coast, the Sunshine Coast and Toowoomba: but if you want a project, read on.
How the system goes together
The whole approach is the same whether you fix individual rails and slats or slot a pre-made panel between two posts. Get the posts plumb, level and correctly spaced first, and the rest follows easily. Here’s the sequence at a glance:
Set out the run. Run a string line along the fence line, mark each post position, and check your spacing against the panel or slat lengths you’ve ordered.
Dig and set the posts. Dig the post holes, drop the posts in, and brace them dead plumb. Concrete them in to the right spacing and let the concrete cure before loading anything onto them.
Fix the rails (or slot the panel). Bracket the top and bottom rails to the posts, or simply slot a pre-made panel between the two posts so it sits square.
Fasten with brackets and screws. Screw the brackets home so the section is locked in. Work to the string line so every panel sits at the same height and line.
Repeat down the run. Move to the next bay, check level and line again, and carry on. Finish with post caps for a clean look.
That’s genuinely it. Because each bay is independent, you can take it section by section and stop for the day whenever you like: the cured posts hold their position while you come back to it. The same bolt-together logic applies where the fence line runs between existing masonry columns: fitting panels between existing brick piers simply swaps the concreted post for a masonry fixing and a bay sized to the gap.
The basic tools you’ll need
You almost certainly own most of this already. Nothing here is specialist trade equipment:
| Tool | What it’s for |
|---|---|
| Tape measure & pencil | Setting out the run and post spacing |
| Spirit level | Getting every post plumb in both directions |
| String line & pegs | Keeping the fence straight and to one height |
| Post-hole shovel or auger | Digging the post holes |
| Cordless drill / driver | Fastening brackets and screws |
| Drop saw with metal blade | Trimming a slat or rail if needed (order to size to avoid this) |
Add concrete, a wheelbarrow and a bucket for the post holes, plus safety glasses and gloves. If you order your fence cut to size, you may not need to cut anything on site at all.
Measuring and ordering tips that save the day
Most DIY fencing headaches come from the planning, not the building. A few habits make all the difference:
Measure the full run twice before you order anything, and note where gates, returns and corners fall.
Check the gradient. If the ground falls away, decide early whether you’ll step the panels down or rake them to follow the slope.
Order to size. Giving us your measurements means panels arrive cut and ready, so you spend the weekend assembling rather than fabricating.
Always work to a string line so the finished fence reads as one clean, straight run.
Not sure which look suits your place? Our guide to the slat, picket and blade profiles walks through each one, and if you’re weighing layout, the horizontal vs vertical slats comparison is a good next read.
When to call a pro instead
DIY is great for a straightforward, level run, but it isn’t always the right call. We’d suggest letting our team handle the job when:
The run is long, or the ground slopes steeply and the panels need to be stepped or raked accurately.
You’re adding an automated gate: sliding gate motors and swing gate motors involve wiring and setup that’s best left to a pro.
There’s a retaining, structural or load-bearing element involved, rather than a simple fence line.
You’re not confident where your boundary sits, or the access is tight and awkward.
There’s no shame in supplying it yourself and tapping us in for the tricky bay or the gate. We install across Brisbane, Logan, Ipswich, the Gold Coast, the Sunshine Coast and Toowoomba, so you can mix and match how much you take on.
A quick word on safety and boundaries
Before you dig a single hole, take care of a few essentials. Confirm exactly where your boundary line runs: if the fence is shared, it’s worth a friendly chat with your neighbour first. Check whether your local council has any rules on fence height or setbacks for your street, since requirements vary across South East Queensland.
Most importantly, contact Before You Dig Australia (Dial Before You Dig) before you put a shovel in the ground. It’s a free service that maps underground services like power, water, gas and comms so you don’t hit anything you shouldn’t. It only takes a few minutes and it can save you a very expensive afternoon.
Frequently asked questions
Do I need to weld anything to install aluminium slat fencing?
No. Our aluminium fencing is fully mechanical and bolt-together. Everything fixes with brackets and screws, so there’s no welding, hot work or grinding required: that’s what makes it so DIY-friendly.
Can I buy the fencing supply-only and install it myself?
Yes. You can buy supply-only and pick up from our Slacks Creek (Logan) yard or arrange delivery. We can also install for you if you’d rather not DIY: the choice is yours.
How much does aluminium slat fencing cost?
Aluminium fencing starts from around $279, with the final figure depending on length, height, profile and finish. Our fencing cost guide breaks down what drives the price.
What tools do I need to put up the fence?
A tape measure, spirit level, string line, post-hole shovel or auger, and a cordless drill cover the basics, plus concrete for the posts. If you order your panels cut to size, you may not need to cut anything on site.
Do I need to call Dial Before You Dig?
Yes: always contact Before You Dig Australia before digging post holes. It’s free and maps underground services so you don’t strike power, water or gas lines. Also confirm your boundary and any local council fence rules first.
When should I get a professional to install instead?
Call a pro for long or steeply sloped runs, automated gates, any retaining or structural work, or if you’re unsure about your boundary. You can still supply it yourself and have us handle just the tricky parts.
Planning a driveway entry too? Read our aluminium gates guide next. You might also like our guides to aluminium fence panels: Bunnings vs a specialist, aluminium fence & gate colours, and how to measure for aluminium fencing.
Working out what your fence line needs? Tell us the run and the height and we will quote it, supply-only or installed.
- Supply-only or installed
- Pick-up or delivery
- Brisbane & Logan based