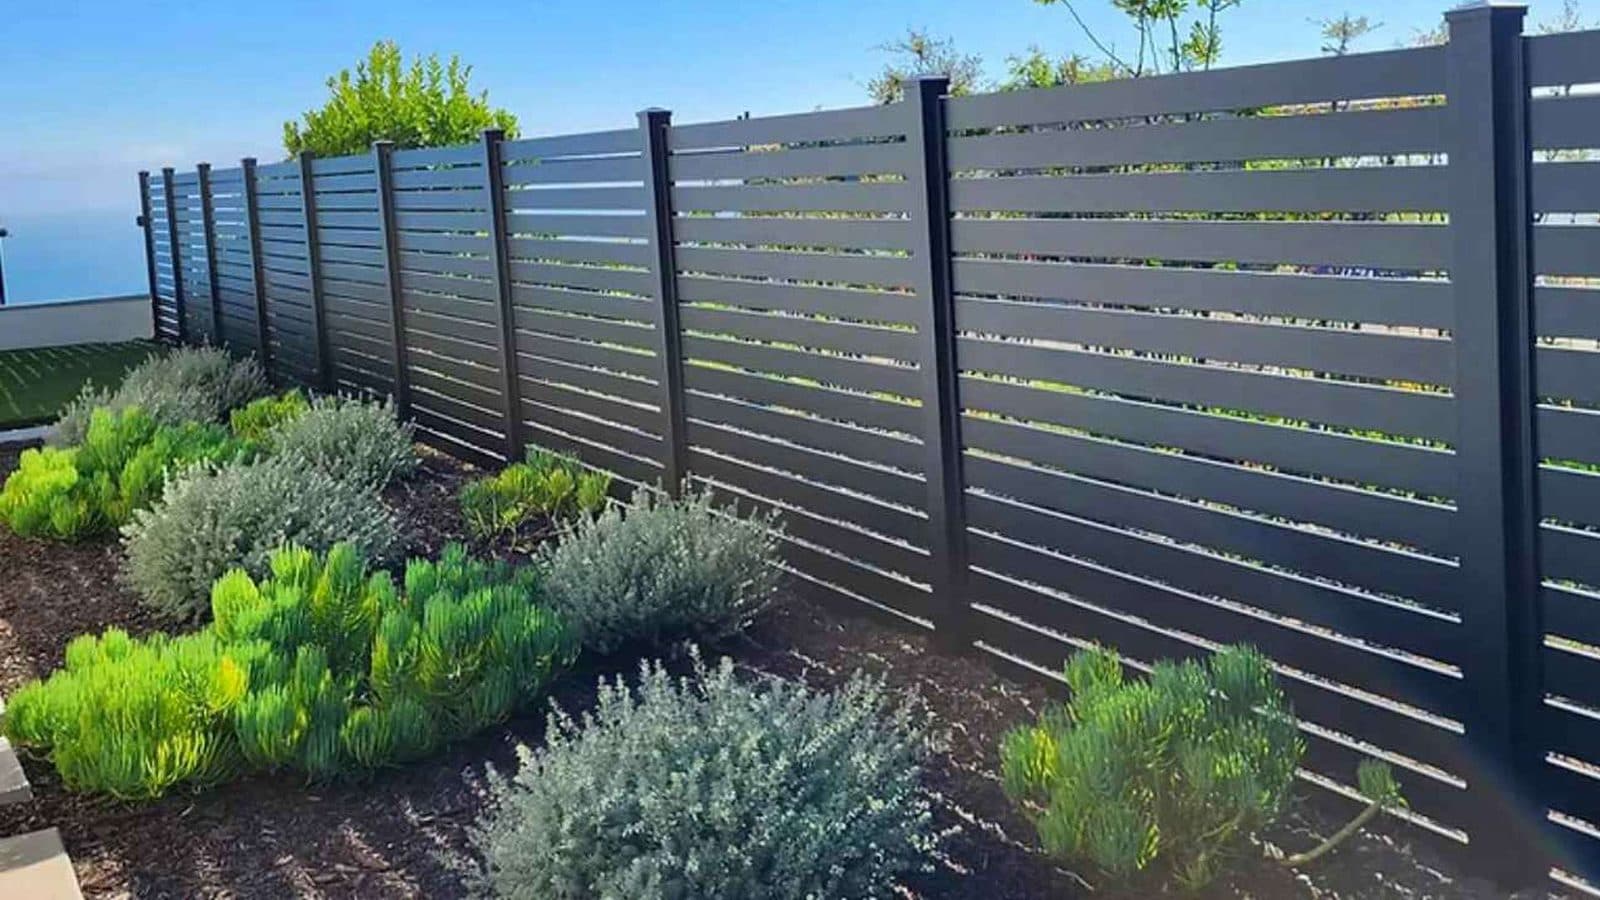
Knowing how to measure for aluminium fencing is the single most important step in any fence project. Because we supply your panels, posts and gates to the measurements you give us, accurate numbers mean the right amount of material turns up the first time: no short runs, no wasted trips, no reorders.
At FY Fencing Supplies we are first and foremost a supplier. You can buy aluminium fencing direct from our Slacks Creek (Logan) yard or have it delivered across Brisbane, Logan, Ipswich, the Gold Coast, the Sunshine Coast and Toowoomba. Our panels are mechanical and bolt-together (there is no on-site welding) so a confident DIYer can measure, order and install a tidy run over a weekend. Our realistic weekend timeline for a DIY fence sets out how long each stage actually takes once you have measured up and ordered. Adding a driveway gate? See how to measure your driveway for a gate. (If you would rather not pick up a tool, optional installation is available as an add-on.)
That supply model is exactly why measuring for an aluminium fence well matters so much. You are the one taking the measurements, then ordering to them. Get it right and the job runs smoothly. This guide walks you through the tools, the checks to do first, a clear step-by-step method, and a worked example so you can work out roughly how many panels and posts you will need before you call us.
What you’ll need
You almost certainly own most of this already. Nothing here is specialist gear:
A tape measure: a long one if you can, ideally a 30 metre reel or wheel for long runs so you measure in one pull rather than many short hops.
String line and pegs: to mark out the true fence line and keep your measurement straight.
A spirit level: handy for checking falls and for noting how much the ground slopes.
Pencil and notepad, or your phone: to record every measurement and snap photos as you go.
A helper: for any long run, a second pair of hands keeps the tape straight and the readings honest.
Before you measure
A few quick checks before you start can save a lot of grief later. None of them take long:
Confirm your boundary. Check your property title or survey plan so you know exactly where your land ends. Building on the wrong line is an expensive mistake to undo.
Talk to your neighbour for shared fences. If the fence sits on a shared or dividing boundary, a friendly chat first is the right thing to do (and dividing-fence arrangements have their own rules in Queensland).
Call Dial Before You Dig (1100). Before you put a shovel anywhere near a post hole, contact Before You Dig Australia on 1100. It is free, it maps underground power, water, gas and comms, and it can save you a very costly afternoon.
Tip: Do the boundary check and the 1100 call before you measure, not after. If your fence line shifts even a little once you confirm the boundary, your measurements change with it.
How to measure for aluminium fencing step by step
Work methodically and write everything down as you go. Here is the order we recommend:
1. Measure the total run length. Peg a string line along the actual fence line and measure along it in metres. Measure the real line, not an eye estimate from the back step: a run that looks like 18 metres can easily be 20. For an L-shaped or multi-sided yard, measure each straight section separately and label them (Run A, Run B, and so on).
2. Mark and measure your gate openings. Decide where each gate goes and measure the clear opening you want. Note whether each is a pedestrian gate (a person and maybe a wheelie bin or mower) or a driveway gate (a car). Driveway openings are much wider, so record each one separately.
3. Measure the height you want. Decide on your finished fence height and note it. If you are matching an existing fence, measure that.
4. Deal with slopes. If the ground falls away along the run, you have two simple options. Stepping keeps each panel level and drops it down like a staircase, leaving small triangular gaps under each panel: a clean, common look on a gentle to moderate slope. Raking angles the panel to follow the ground so there is no gap underneath: better on a steady, continuous slope. Either way you choose the look on purpose; the gaps to avoid are the unplanned ones from ignoring a slope altogether. Note roughly how much the ground drops over the run (your spirit level helps here) so we can advise on the best approach.
5. Note your corners and ends. Mark every corner, every end post and any spot where the fence meets the house or an existing structure. If your fencing is going to sit between brick piers, measure each opening on its own rather than as one long run: panels that fit between masonry piers are made to that exact opening width. Corners and ends need their own posts, so they matter for your count.
Tip: Measure your total run twice and write both numbers down. If they don’t match, measure a third time. Five minutes now beats a reorder later.
Working out panels, posts & gates
Once you have your run length, you can ballpark your materials with a couple of simple sums: both of which hinge on panel width, so it helps to know the panel widths and heights we supply before you start:
Panels = run length divided by panel width (round up to the next whole panel)
Posts = number of panels, plus one: but this only holds for a single continuous run with nothing breaking it
Gate posts = a gate needs a post on each side, and those posts also act as the end posts for the fence on either side: so don’t add them on top of a posts count you have already worked out
That last point trips people up, so here is a worked example: the numbers below are illustrative only, to show the method. Take a 20 metre run, an example panel width of 2.4 metres, and one example 1 metre pedestrian gate. The gate sits partway along, splitting the fencing into two segments either side of it. The clever bit: each gate post is shared, doing double duty as the end post for its segment.
| Item | Working (example) | Result |
|---|---|---|
| Fencing run (less gate) | 20 m total minus 1 m gate | 19 m of fencing |
| Panels needed | 19 m ÷ 2.4 m | 8 panels (rounded up) |
| Posts | 8 panels + 1, plus 1 extra for the gate break | 10 posts total |
| Gate posts | 2 needed, both already counted above | 0 extra |
| Gate | 1 m pedestrian opening | 1 gate |
Why 10 posts and not 11? If this were one unbroken 20 metre run of 8 panels you would need 9 posts. The gate breaks the run into two segments, which adds one extra post position (so 10), but the two posts on either side of the gate are part of that count: they are not three separate things to buy. Adding 2 standalone gate posts on top would over-order. Because 19 metres does not divide evenly into 2.4 metre panels, the last bay will be a part panel: that is completely normal, and it is something we sort out when we cut and confirm your order. Exact panel widths vary by profile and style, so treat the maths above as a guide only. Send us your run length and we will confirm the precise panel and post count on your quote. If you are still choosing a look, our guide to the slat, picket and blade profiles covers the options, and the aluminium fencing cost guide explains what drives the price.
Common measuring mistakes
Most fencing headaches start at the tape measure, not the drill. Watch out for these:
Forgetting gate clearances. A gate is not the same width as its opening: you need room for hinges and a latch. Tell us the clear opening you want and let us factor in the gaps.
Ignoring the slope. Measuring only the flat length and not noticing the ground falls away leads to unplanned gaps. Decide on stepping or raking on purpose, and note the drop.
Measuring to the wrong point. Be consistent: measure along your true fence line, not from a wall, garden edge or eye estimate.
Double-counting gate posts. A gate’s two posts also serve as the end posts for the fence either side: count them once, not on top of your panels-plus-one figure.
Guessing the height. Don’t assume: decide your height, write it down, and check any council requirements that apply.
What to send us for a quote
Once you have measured, gather this and send it through: the more you give us, the faster and more accurate your quote:
Total run length(s) in metres, labelled for each straight section.
Number and type of gates with the clear opening width of each (pedestrian or driveway).
Fence height you want.
Slope notes: roughly how much the ground drops over the run.
Corners and ends: how many of each.
Style and colour preference if you have one: see our aluminium fence colours.
Photos of the fence line, corners, gate spots and any slope: these help us spot anything the numbers miss.
Send it all through our contact page or give us a call on (07) 3803 1098, and we will come back with a quote and confirmed panel and post counts. Planning to install it yourself? Read our DIY aluminium slat fencing guide next to see how the bolt-together system goes up.
Frequently asked questions
What if my ground slopes?
You have two simple options. Stepping keeps each panel level and drops it down like a staircase, with small planned triangular gaps under each panel, which suits a gentle to moderate slope. Raking angles the panel to follow the ground so there is no gap underneath, which suits a steady continuous slope. Either way the look is deliberate. Note roughly how much the ground drops over the run and we will advise the best approach for your block.
How do I measure for a gate?
Measure the clear opening you want the gate to fill, and tell us whether it is a pedestrian or driveway gate. Don’t subtract for hinges and latches yourself: give us the opening and we factor in the clearances. Remember the gate’s two posts also serve as the end posts for the fence either side, so they are not extra posts on top. Our aluminium gates guide covers the options.
What are standard fence heights in QLD?
Common residential fence heights sit in a typical range, but the right height for you depends on privacy, the look you want and any rules that apply. Always check your local council requirements rather than assuming.
Can you measure for me?
Most DIYers happily self-measure using a guide like this one, and that is the usual way our supply customers order. If you would prefer, optional measure and install is available as an add-on across Brisbane, Logan, Ipswich, the Gold Coast, the Sunshine Coast and Toowoomba: just ask when you get in touch.
What if my run isn’t a round number of panels?
That is normal and nothing to worry about. Very few runs divide evenly into whole panels, so the last bay is usually a part panel. Send us your exact run length and we sort the cut and the final panel and post count when we confirm your order.
Do I need council approval?
It depends on your location and fence height. Rules vary across South East Queensland, so check with your local council before you build.
Next steps: read our DIY aluminium slat fencing guide to see how it all bolts together, compare looks in our fence styles guide, or browse our aluminium fencing range, including ready-to-order DIY horizontal slat panels.
Ready for a quote?
Send us your measurements and photos, or call (07) 3803 1098, and we’ll confirm your panels, posts and gates: supply or installed, across SE Queensland.
Working out what your fence line needs? Tell us the run and the height and we will quote it, supply-only or installed.