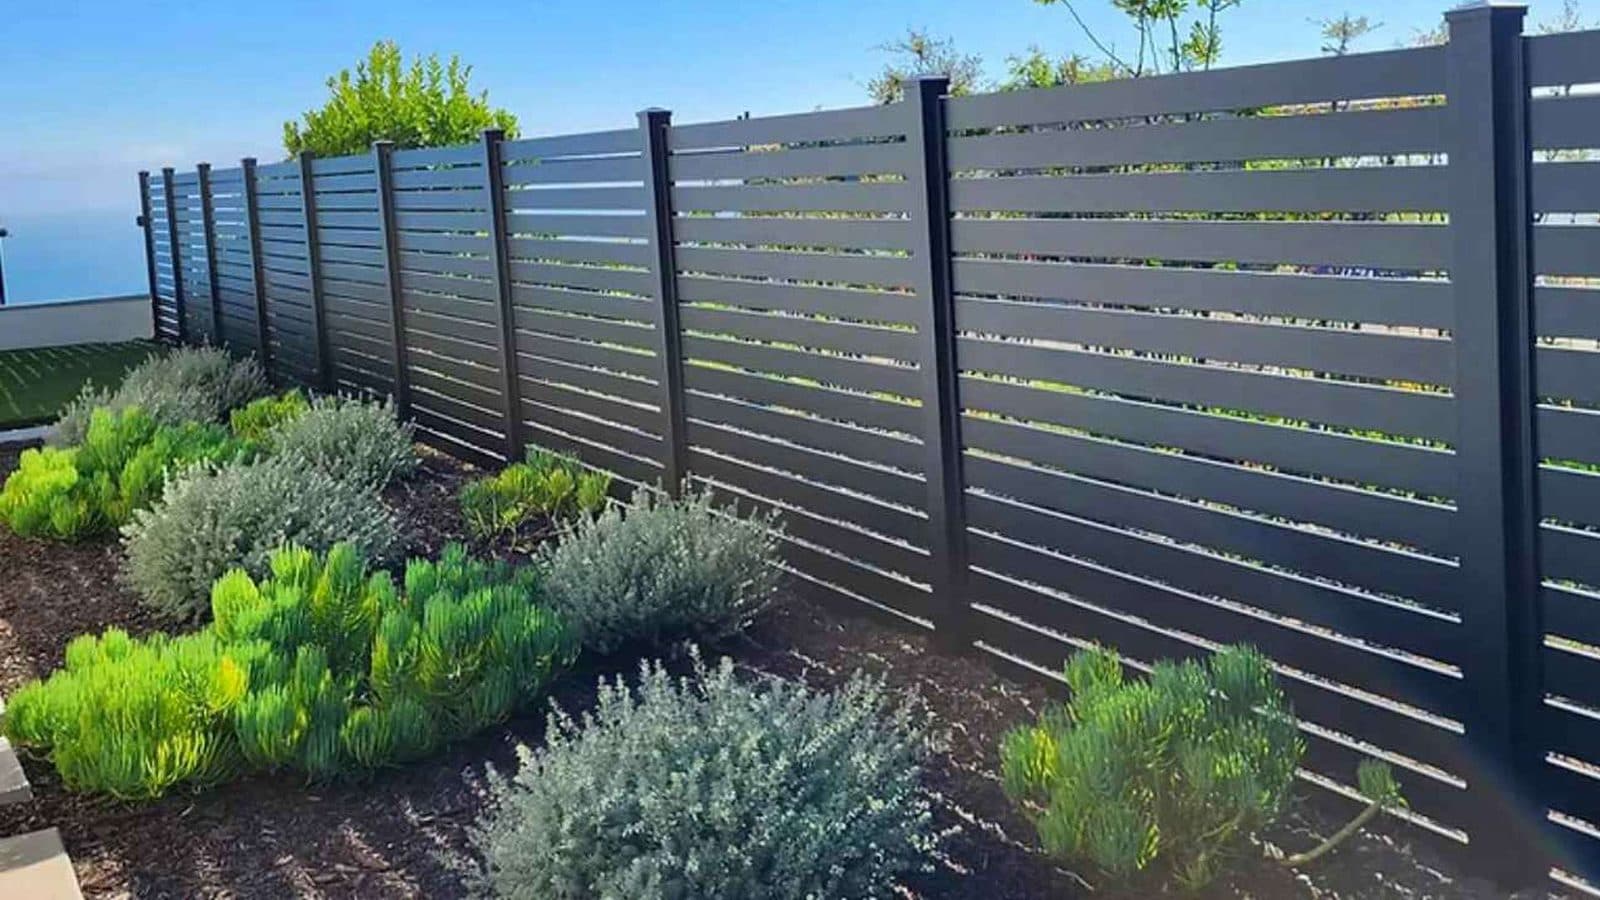
If you can dig a hole, hold a level and drive a bolt, you can install aluminium fence panels yourself. Every connection in our panels is mechanical (brackets and bolts, not welds) so mistakes are adjustable. This guide covers tools, set-out, footings, assembly, slopes, gates and timing.
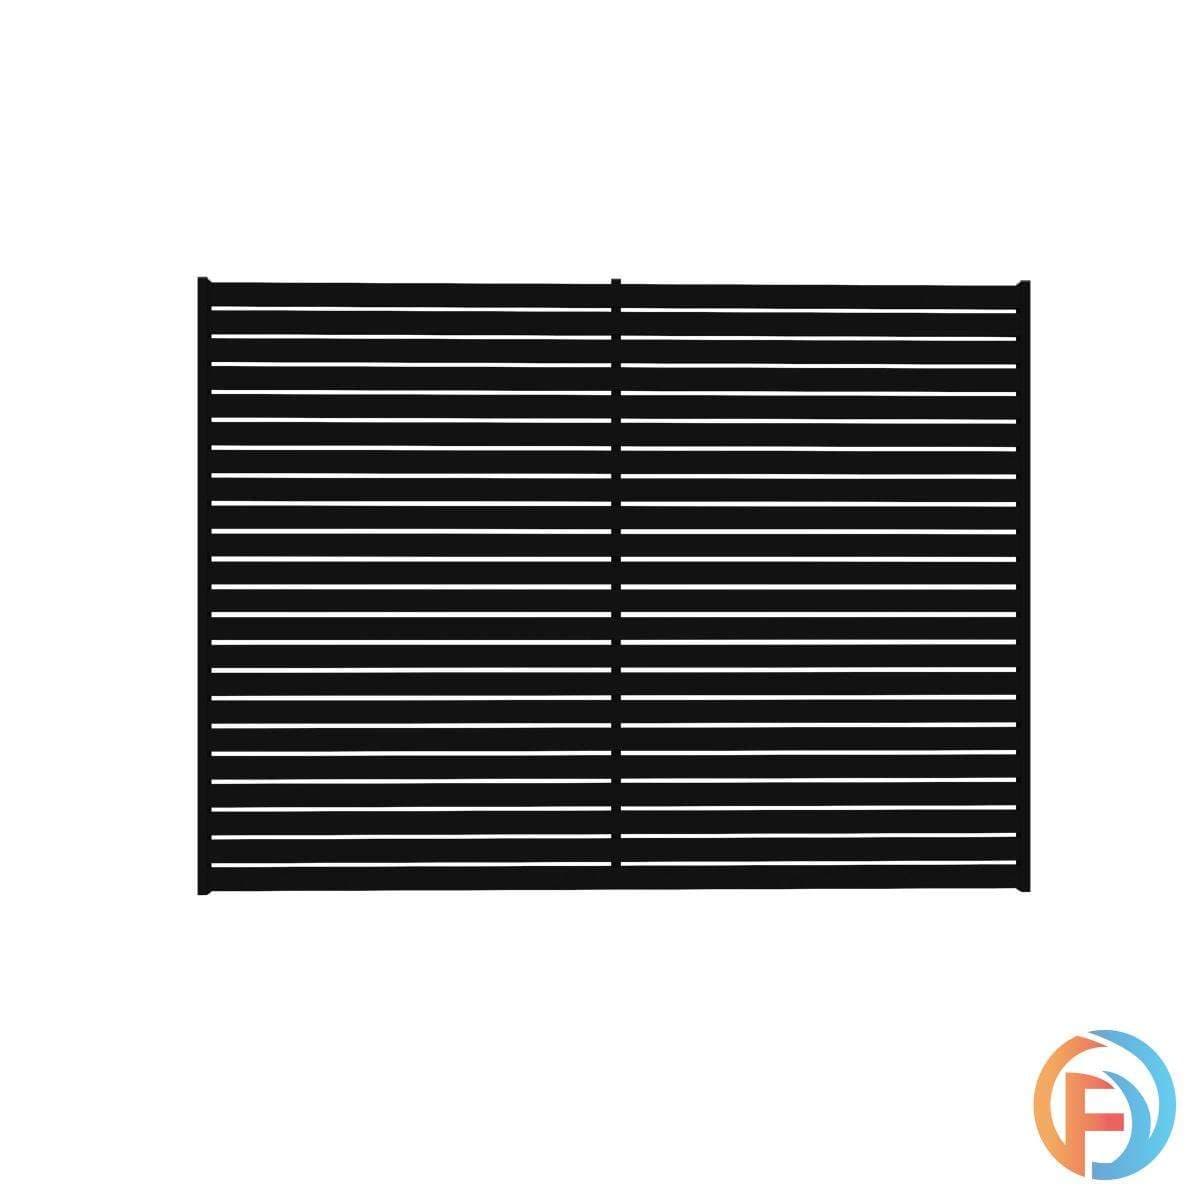
The short version
Run a taut string line and mark post centres at panel width (typically 2400 mm).
Dig footings about 600 mm deep and set each post plumb in rapid-set concrete.
Work bay by bay (post, panel, post) so each panel spaces the next post.
A typical 20 to 25 m suburban run is a weekend job for two handy people.
Tools and materials checklist
Nothing exotic: most of it is already in the shed:
Set-out gear: string line and pegs, tape measure and marking paint.
Digging gear: post-hole shovel or hand auger, plus a crowbar for rock.
Levelling gear: a spirit level (1200 mm is ideal) and timber offcuts for propping panels.
Assembly gear: drill or impact driver, hex and socket bits, a spanner set, gloves and safety glasses.
Concreting gear: wheelbarrow, hose and rapid-set concrete: roughly two 20 kg bags per post, more for gate posts.
Materials-wise you need panels, posts, bracket and bolt kits, post caps, and gate hardware if a gate is planned: order the lot through our online shop or collect from our Slacks Creek yard.
Plan and measure before you order
An hour of planning saves a weekend of rework. Confirm exactly where the boundary sits (talk to the neighbour if the fence is shared), then measure the total run, noting every gate and corner. Our guide to measuring for aluminium fencing shows how to turn those numbers into a panel-and-post order with nothing missing.
Two more boxes to tick. Height: a fence up to 2 m generally needs no building approval in Queensland, though front fences and corner blocks can have extra rules: see our guide to Queensland fence height rules. Licensing: doing the install yourself on your own block generally needs no QBCC licence, though there is a dollar threshold where that changes: our guide to whether you need a licence to build a fence sets out the Queensland limits. Services: lodge a free Before You Dig enquiry first. Still weighing up the look? Our overview of slat, picket and blade styles compares the options.
Set out the fence line with a string line
Drive a peg just past each end of the run and pull a string line taut between them at a consistent height: about 300 mm off the ground works well. This line is your reference for post faces, panel alignment and finished height, so get it dead straight and leave it up for the whole job.
Mark the first post centre, then dot the rest along the line with marking paint. Spacing is panel width plus post width: for a 2400 mm panel on 50 mm posts, 2450 mm centre to centre. Set out gate openings to the specified gap, not a guess.
Post spacing and footings: the basics
Dig each hole about 200 to 300 mm in diameter and 600 mm deep. Gate posts and exposed, windy corners deserve more: around 800 mm deep with an extra bag of concrete, because they carry more load. Rapid-set concrete is the DIY-friendly choice: follow the bag directions and trowel the top to slope away from the post.
Keep the bottom rail 25 to 50 mm clear of the ground: it keeps mowing easy and stops soil sitting against the fence.
The bolt-together assembly sequence, step by step
Work bay by bay rather than concreting every post first: each panel then sets the exact position of the next post, so small errors never add up along the run:
Dig the first two holes on your marks.
Set the first post. Plumb it both ways against the string line, pour the rapid-set and brace it until the mix grabs.
Hang the first panel. Bolt the brackets to the post, sit the panel on offcuts to hold its ground clearance, and bolt the rails finger-tight.
Stand the second post dry in its hole and bolt the free end of the panel to it: the panel now does the measuring.
Check before pouring: rails level (or following the slope), posts plumb, faces on the string line, tops in line.
Concrete the second post and brace it while the mix sets.
Repeat along the run (dig, panel, post, check, pour) sighting down the string line every couple of bays.
Finish up. Once the concrete has set, final-tighten every bolt, fit the post caps and touch up any scratches.
Building a slat screen? Our companion guide to DIY aluminium slat fencing covers slat-specific details like spacing and privacy.
Handling sloping ground
Slope changes the plan in one of two ways. Stepping keeps every panel level and drops each bay down the hill like a staircase, leaving small triangular gaps under the low ends. Raking angles the panels to follow the ground line for a continuous look. Which suits your fall is covered in our guide to raked vs stepped fencing on sloping blocks: read it before you order, because the panels are made differently for each approach.
Hanging your gate
Leave the gate until last and give the gate-post concrete 24 to 48 hours to cure before it takes weight. Sit the gate on packers to hold an even gap all round, fix the hinges to the post, check the swing, then fit the latch at a comfortable height. If it drags at a corner, most hinges have enough adjustment to square it up. For single, double and sliding options, start with our aluminium gates guide.
A realistic timeline
Here is how a typical 20 to 25 m run with one gate and two people tends to break down. For the same job mapped across a Saturday and a Sunday, see our realistic DIY fence weekend plan.
| Stage | Typical time |
|---|---|
| Measure, order and delivery or pickup | A week or two ahead of the build |
| Set-out and digging | Half a day |
| Posts and panels, bay by bay | A full day |
| Concrete cure before hanging the gate | 24 to 48 hours |
| Gate, caps and final tighten | 1 to 2 hours |
A guide only: ground conditions and access make the biggest difference.
When to book professional installation instead
DIY suits most straight suburban runs, but some jobs belong in the too-hard basket: solid rock or reactive clay, runs past about 40 m, steep slopes, core-drilling into concrete or retaining walls, and tight boundaries. If that sounds like your block (or you would rather spend the weekend elsewhere) we offer optional professional installation alongside supply-only.
Either way, the panels come from the same Slacks Creek yard in Logan, with delivery across South East Queensland (Brisbane, Logan, Ipswich, Gold Coast, Sunshine Coast, Toowoomba and surrounds) or pickup. Repeat customers and trades earn loyalty discounts. Call (07) 3803 1098 to talk it through.
Frequently asked questions
Can I really install aluminium fence panels myself?
Yes: bolt-together panels are designed for it. Every join is a mechanical bracket-and-bolt connection, so there is no welding and mistakes can be unbolted and corrected. If you can dig holes, use a level and drive a drill, the job is within reach.
How deep should the post holes be?
About 600 mm deep and 200 to 300 mm across, set in rapid-set concrete. Go deeper (around 800 mm with extra concrete) for gate posts and exposed windy positions, which carry more load.
What spacing do the posts need?
Post centres equal panel width plus post width: 2450 mm centre to centre for a standard 2400 mm panel on 50 mm posts. Safest is to work bay by bay, letting each bolted-on panel position the next post before you pour.
How long before I can hang the gate?
Give the gate-post concrete 24 to 48 hours to cure before the hinges take weight. Rapid-set firms up in minutes, but a gate applies constant leverage, and hanging it early can pull the footing out of plumb.
Do I need council approval to install my own fence in Queensland?
Generally not: a domestic fence up to 2 m high usually needs no building approval in Queensland. Front fences, corner blocks and heritage areas can carry extra rules, so check your address with your local council first.
What if my block slopes?
Either step the panels (each one level, dropping down the hill bay by bay) or rake them to follow the ground line. The choice depends on the fall, and panels are made differently for each, so decide before you order.
Working out what your fence line needs? Tell us the run and the height and we will quote it, supply-only or installed.
- Brisbane-based supplier
- Aluminium fencing & gates
- Supply or installed