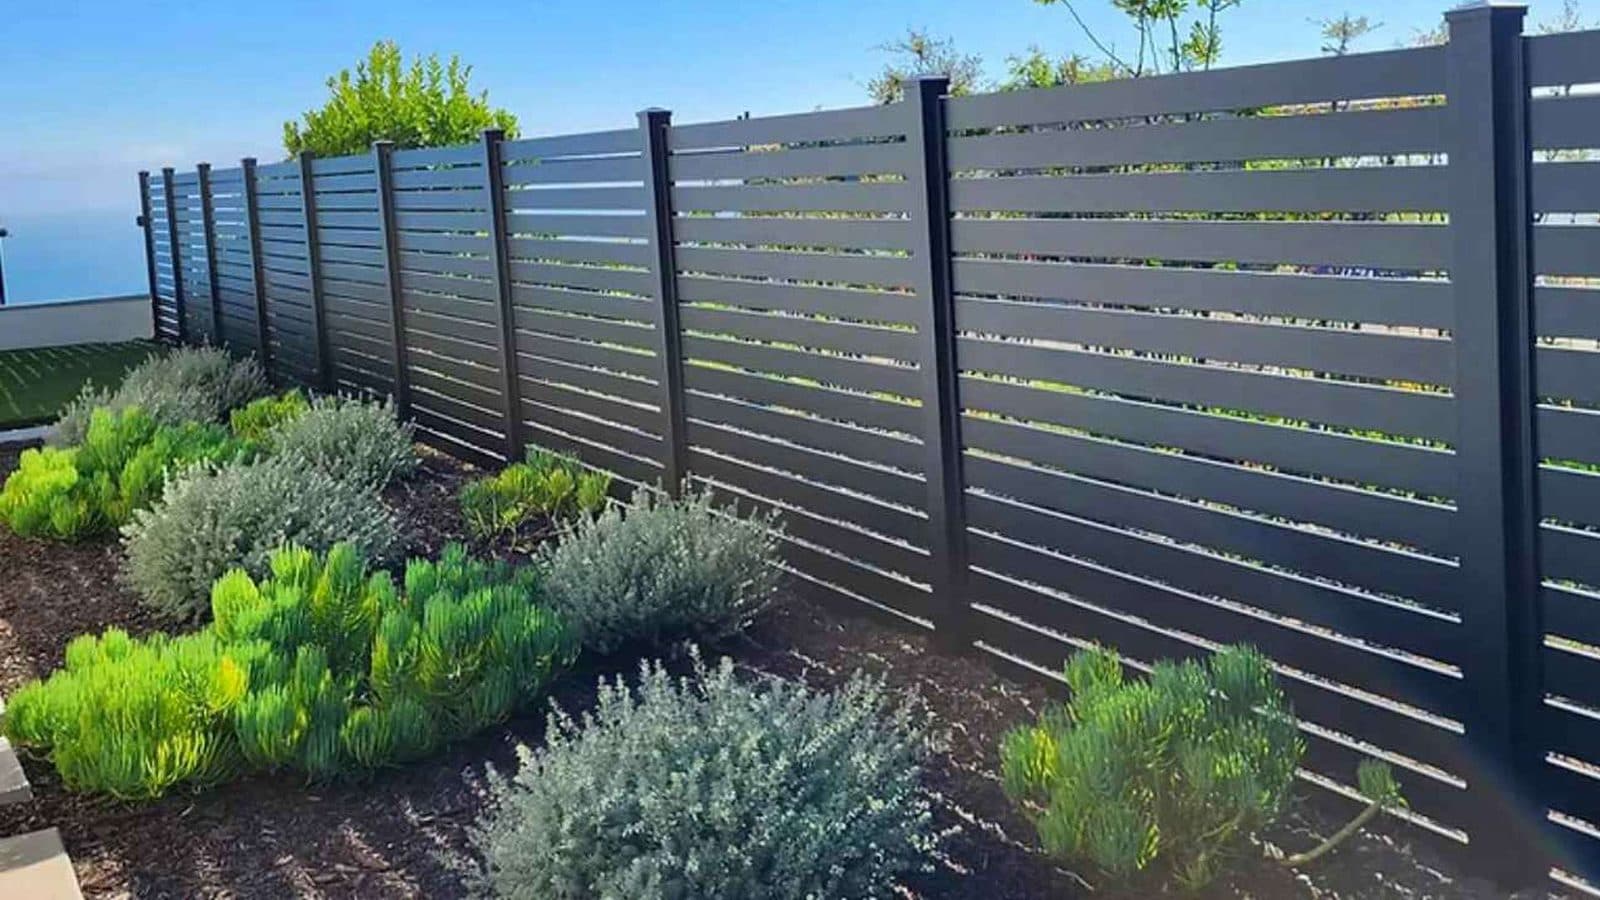
Timber fences in South East Queensland rarely fail all at once. They grey off, the palings go soft at the bottom, and the posts lean a little more after every wet summer until the whole line is past saving. When that day arrives you have a choice: pay for the same fence again, or take the one chance you will get to upgrade the boundary properly. Here is how to replace timber fence with aluminium, step by step: from reading the warning signs to standing back on install day.
The quick answer
Judge the structure, not the surface: rot at the ground line, leaning posts and termite damage mean replacement, not repair.
On a boundary fence, talk to your neighbour first: in Queensland a notice to contribute can split the cost of a ‘sufficient’ replacement.
Old post holes usually cannot be reused: new aluminium posts need fresh holes at precise centres and the correct depth.
Panels are made to order, so measure the run carefully, then install DIY over a weekend or book optional professional installation.
Five signs your timber fence is done
Palings are cosmetic: a fence lives or dies by its posts and rails. Before you spend a dollar, check these five things:
Rot at the ground line. Push a screwdriver into each post where it meets the soil. If it sinks in easily, the post has rotted from the inside and new palings will not save it.
Leaning posts. A lean means the post or its footing has failed below ground. Propping it straightens the symptom, not the cause: the lean always comes back.
Termite activity. Mud tunnels on posts or rails, timber that sounds hollow when tapped, palings that crumble at the base. South East Queensland is prime termite country and fence lines are a favourite entry point.
Warped palings and popped nails. Humid summers swell the timber, dry winters shrink it, and the fence slowly shakes itself apart.
The repair maths has flipped. Replacing one post is a repair. When three or four posts in a 20 metre run are gone, you are paying replacement money for a fence that is still old.
One of these in isolation can be fixed. All of them together (which is how a 15-year-old pine fence usually presents) and replacement is the honest call. If you found termite signs, book a pest inspection before the new fence goes in: the fence may not be the only timber they have visited.
The replacement, step by step
Step 1. Sort the neighbour side first (boundary fences)
If the fence sits on the boundary between two properties it is a dividing fence under Queensland law, and your neighbour is generally liable for half the cost of a ‘sufficient’ replacement. Do not just tear it down. Talk to them, agree on what is being built, and if you want a formal cost split, serve a notice to contribute and wait for agreement before any work starts. Choosing a fence fancier than ‘sufficient’ (most aluminium upgrades qualify) simply means you pay the difference above the basic option. Our guide to the QLD notice to contribute covers the forms, timeframes and what to do if the neighbour never responds. A fence entirely inside your own block, like most front fences, is yours alone: no notice needed.
Step 2. Remove the old fence and dispose of it properly
Removal is honest work rather than hard work. Take gates off first, lever the palings away with a wrecking bar, unscrew or cut the rails, then deal with the posts: dig away one side of each footing, rock the post loose and lift it out, concrete lump and all. A high-lift jack and a chain will pop the stubborn ones.
Disposal is the part people underestimate. Most older fences are CCA-treated pine, which must never be burned or mulched: it goes to a council transfer station as general waste. For a full run, a small skip usually beats a dozen ute trips, and concrete footings are often cheaper to tip separately as clean rubble. If termites were active, get the infested timber off the property quickly rather than stacking it beside the shed.
Step 3. Do not plan on reusing the old post holes
The question everyone asks: and the answer is almost always no, for four reasons:
The hole is already full. Every old post sits in a concrete footing. Breaking one out leaves an oversized crater of loose backfill, and new concrete poured against disturbed ground never grips like concrete poured against undisturbed soil.
The centres will not match. Aluminium panels are made to precise widths, so post centres must match the panel-plus-bracket dimension almost to the millimetre. Old timber posts were rarely set that accurately, and your set-out drifts off the old holes within two or three panels.
The hole is the wrong shape. A slim aluminium post wants a neat 200-300 mm diameter hole at the correct depth, not a broad, ragged excavation.
The ground may be compromised. Rot-softened soil and old termite workings are a poor start for a 25-year fence.
The fix is simple: set out fresh holes at the new panel centres, dug to the depths in our fence post footing depth guide, and shift the set-out slightly (or break out an old footing) on the rare occasion one clashes. If the run sits on a solid concrete strip or path, posts can be surface-mounted instead: see our guide to fence posts on concrete base plates.
Step 4. Measure up for made-to-order panels
With the old fence gone you finally have a clear line: the best possible time to measure. Run a string line along the boundary and record three things: the total length of the run, where any gates go, and how much the ground falls from one end to the other, because aluminium panels step down a slope in even increments rather than raking with it.
Panels are typically 2400 mm wide in 1200 mm or 1800 mm heights, but made-to-order means the run does not have to divide neatly by 2400: the closing panel can be manufactured at the odd width instead of being butchered on site. Sketch the run, mark gate openings and any obstructions like trees or retaining walls, and send it through: we will turn it into a materials list and a firm price for your SEQ address.
Step 5. Install day: DIY or optional professional install
The DIY route is genuinely achievable for a handy homeowner: set out the post centres, dig and concrete the posts on day one, then hang the panels on their brackets once the footings have cured. Two people will knock over a typical suburban side run in a weekend, and our step-by-step aluminium fence panel installation guide walks through the whole sequence, brackets to gate hinges.
If post-hole diggers are not your idea of a weekend, we also offer optional professional installation across South East Queensland. Crews handle removal and installation together, and a standard run is normally stood up within a day or two: our fence installation labour cost guide sets out what to expect per metre.
The cost logic: re-doing timber vs switching to aluminium
Rebuilding in timber will be the cheaper quote on the day: and it carries a catch nobody prints on the quote. You have just read the full replacement process, and with pine in the Queensland climate you will be running it again in 10-15 years, plus re-staining every few years in between. Powder-coated aluminium costs more upfront, then asks for an occasional hose-down. You do this job once.
Buying panels supply-only and installing them yourself narrows the upfront gap considerably. And if a neighbour is contributing, remember they only owe half of a ‘sufficient’ fence: the upgrade margin is yours. For the full 25-year numbers on both materials, see our aluminium vs timber fence cost comparison.
Frequently asked questions
Do I need my neighbour’s agreement to replace a boundary fence?
Yes. A fence on the boundary is a dividing fence, so agree on the replacement before removing anything: even if you plan to pay for it all yourself. If you want your neighbour to contribute half the cost of a sufficient fence, serve a notice to contribute and wait for their response or a formal agreement before work starts.
Can new fence posts go into the old post holes?
Usually not. The old holes are full of concrete footings, the spacing rarely matches the precise post centres aluminium panels need, and the disturbed ground around a dug-out footing will not hold new concrete well. Fresh holes at the correct centres and depth are faster to dig and far stronger.
Is it cheaper to replace timber fence with aluminium or rebuild in timber?
Timber is cheaper on day one. Over the long run the picture flips: pine needs re-staining every few years and commonly needs full replacement inside 10-15 years in Queensland, while powder-coated aluminium needs neither. Homeowners planning to stay put usually come out ahead with aluminium.
How long does the whole replacement take?
Allow a day to remove and dispose of a typical run, a short lead time while your made-to-order panels are manufactured, then a weekend for a DIY install: posts and concrete one day, panels the next. Professional crews usually complete removal and installation within a day or two.
What do I do with old treated pine palings?
Never burn or mulch treated pine: the CCA treatment makes the smoke and shavings toxic. Take it to a council transfer station as general waste, or hire a small skip for a full fence run. Concrete footings can often be tipped separately, and more cheaply, as clean rubble.
Working out what your fence line needs? Tell us the run and the height and we will quote it, supply-only or installed.
- Brisbane-based supplier
- Aluminium fencing & gates
- Supply or installed